


We’ve talked a lot during COVID-19 about one aspect of our business that we love and have happily been able to continue with despite a nationwide quarantine – Product Photography! We had the privilege of working with one of our incredible clients, Qontevo, to produce e-commerce photos for their travel cutlery line! We shot these super fun cutlery sets in our home with a makeshift studio and we (and our client!) are in LOVE with the end results!
But…it wasn’t the easiest shoot we’d tackled at home. Not by a long shot.
Shooting these utensils brought on a whole new seat of challenges we had to work through. We created our rough set up and placed the product in place only to scrap it, rearrange, and re-setup about 3 more times! It’s a perfect example of a shoot that should be easy turning complicated in an instant – but we’re here to walk you through what we learned so that you don’t have to invest the time we did to get it right!
The Problem
So, you’re probably wondering what all the fuss is about with some forks, knives and spoons. How hard could this really be, Erica and Jon?! You’re not alone in thinking that. We quoted an hour for the shoot…but we invested about 3 hours of our time! The problem is two-fold. First, the cutlery pieces are highly reflective. We knew that from the beginning and planned to shoot them overhead with a tripod and remote shutter to minimize any reflections.
It’s the second problem that we didn’t fully anticipate: The convex reflections from a SPOON! Think about it. It’s a highly reflective spoon that reflects anything and everything from ALL directions! Those darn spoons were the crux of our problems the entire day until we figured it out once and for all.
The Solution
For our first set up, we unrolled white seamless on our table, set up lighting, and positioned the products. We set the camera on a tripod over head and took a test shoot to get lighting settings dialed in. I’ll show you a sketch of what the first set up looked like, as long as you promise not to make fun of my drawing abilities! Deal? Deal.

The problem is that the spoon was reflecting our ENTIRE HOUSE! It was the exact opposite of what you want when you are aiming for a nice, crisp, clear product photo.
After fiddling around with reflectors and different lighting set ups, we finally got our heads on straight and realized that the majority of the reflections were coming from the direction in which the spoon was facing. In order to get a clean slate across the reflection of the spoon, we extended the paper roll too the ceiling and then walked it back in OVER the table so that it was curving over our heads as we took the shot. It looked something like this:
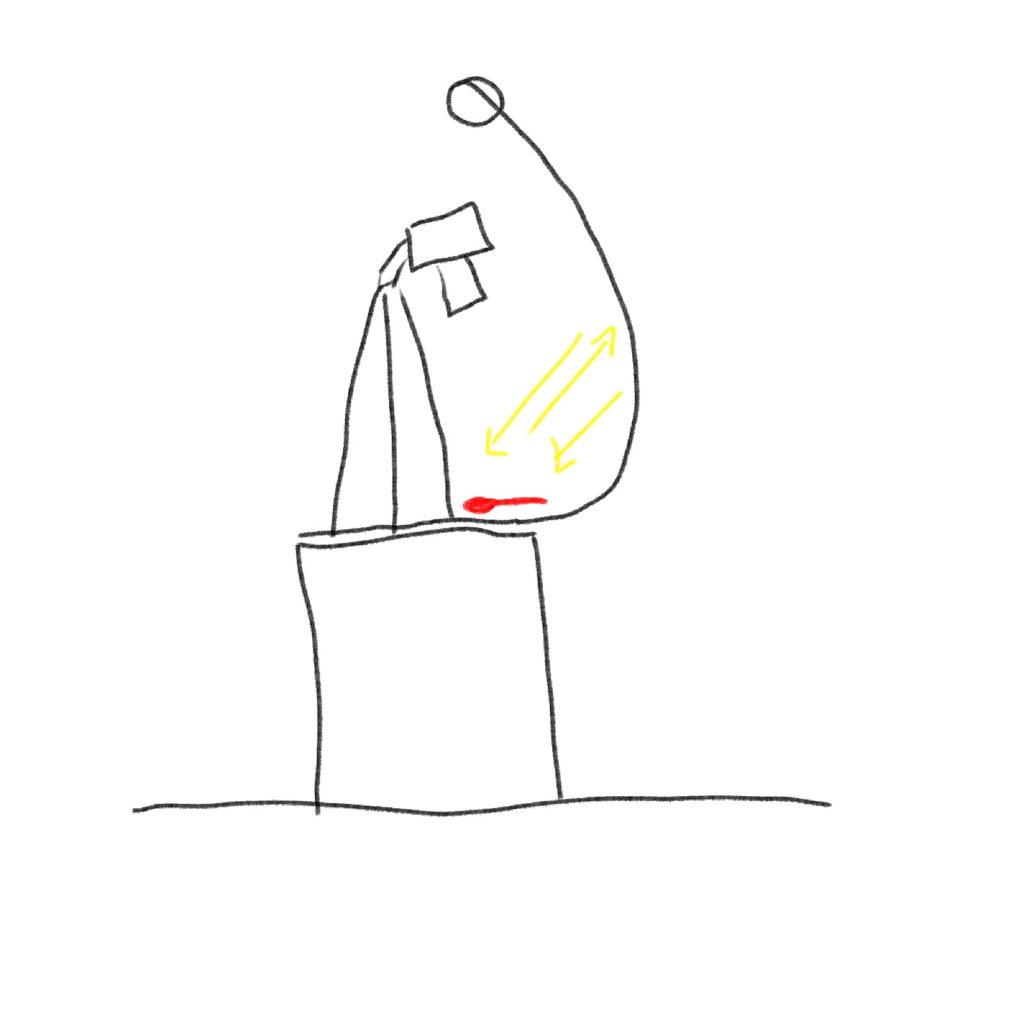
The key to making this work was having the spoon face the paper roll. That way everything that it reflected was the white backdrop!
The other trick to this set up was lighting. Again, all of the utensils, and the spoon especially, reflected any direct light whatsoever, no matter what soft modifiers we used. Ultimately, once we had the backdrop set properly to reflect only the white seamless paper, we shot our key and fill lights indirectly towards the products. The key light we aimed towards our white ceiling on one side and let the light bounce down onto the products to create the light shadow. For our fill, we aimed the light directly at the backdrop and let the light bounce back onto the products evenly.
We hope this breakdown (and our cruddy drawings) are helpful when you run into a situation like this! Anything really is achievable even in a home studio when you take the time to think through it step by step.
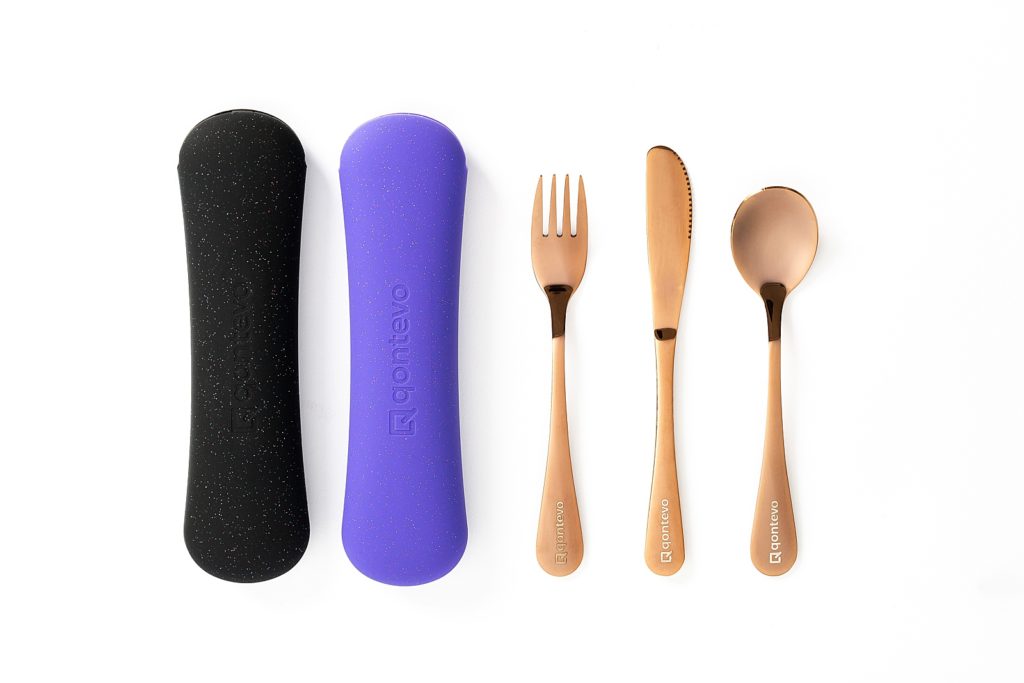
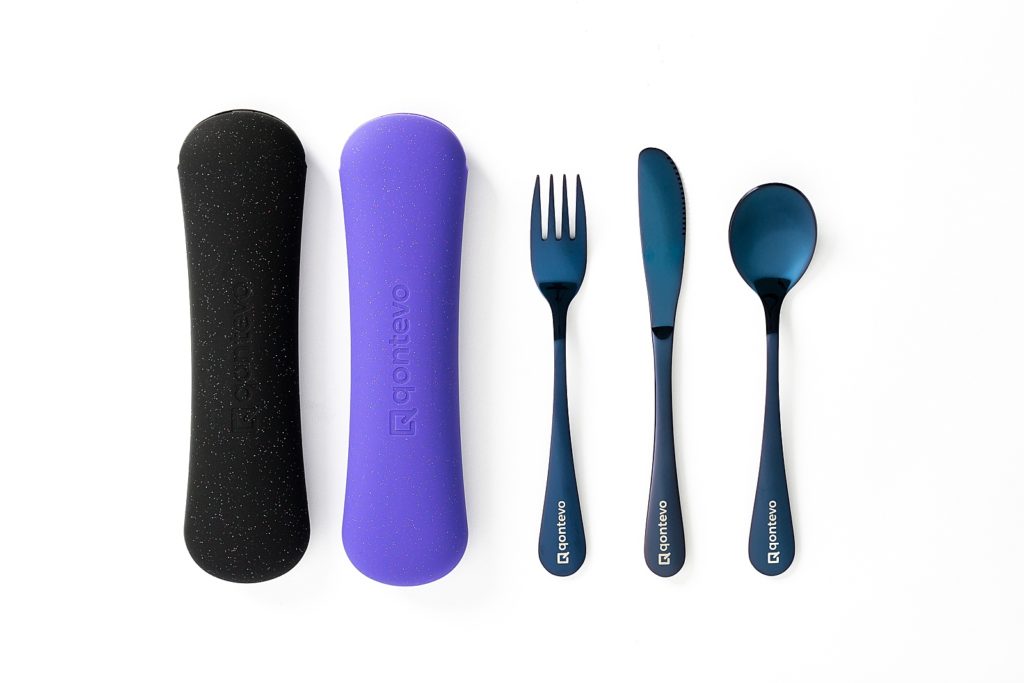
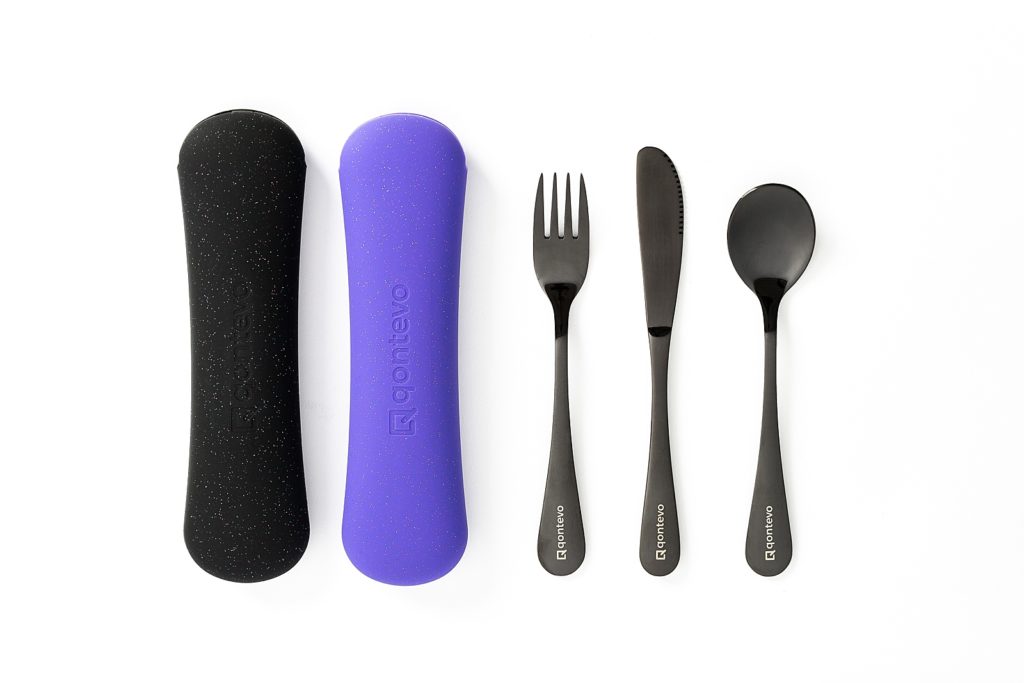
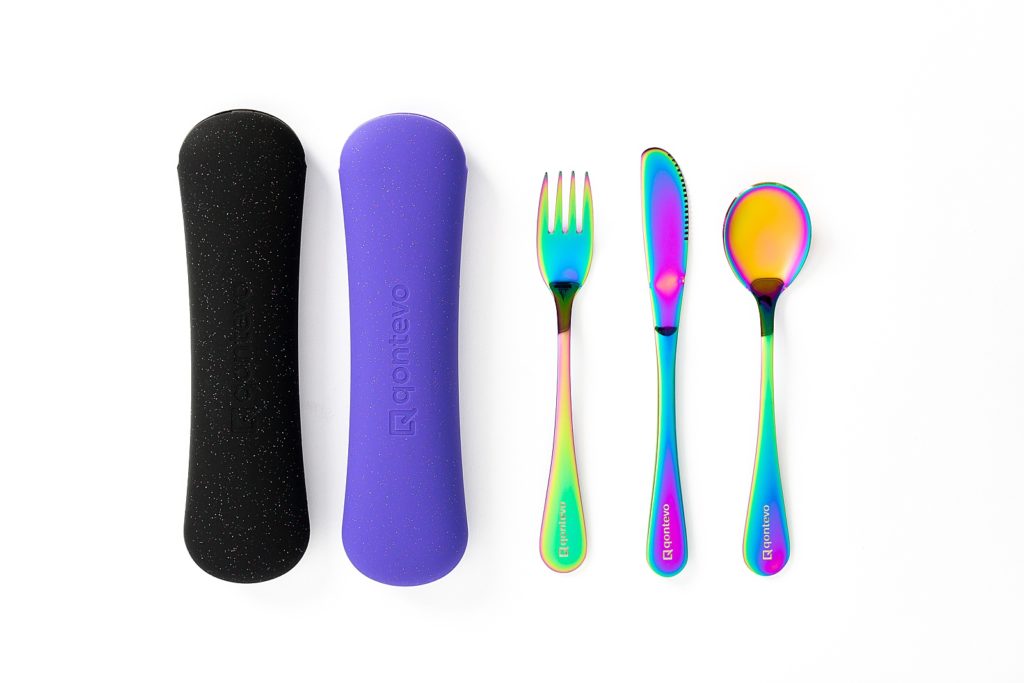
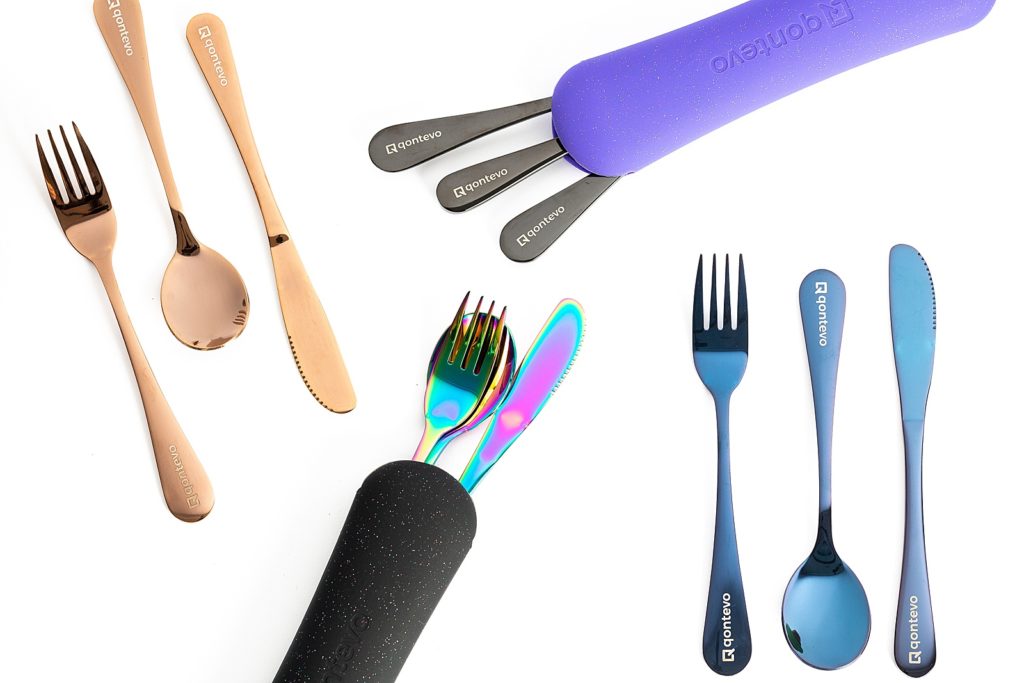
Here are the final shots from the shoot!

Ooh this is so helpful, as always! I recently shot mirrors at home and MAN I wish I had this 😂 Thanks for sharing!
[…] on various projects from capturing e-commerce product photos for her styling lunch bags and utensils to Creative Directing and Photographing branded lifestyle content to represent her brand on her […]