


Last week we told you about the culling software that cut our post processing time in half! This one resource along completely changed our workflow and freed up a ton of time for us to be much more effective with our efforts. It introduced a new concept to our workflow – culling our photos before editing, and saved us from constantly filling hard drives and transferring files we weren’t going to use anyways. If you missed it, go back and read this first to find out what we are talking about!
We had so much positive response to our initial post, and questions about how to use Photo Mechanic 5, that we put together a step by step guide for you to get started!
Step 1
First, we need to set the program up to your preference. Do you utilize colors or number ratings to manage your Lightroom catalog? If so, you can tag those images accordingly in Photo Mechanic as you cull, and the meta data will transfer into Lightroom for you! It’s the whole two birds, one stone thing.
Open Photo Mechanic and navigate to the Preferences tab. Within Preferences, you’ll want to go to the Accessibility tab. In the Accessibility menu, you can select whether the Single Key Shortcut triggers the color class or number rating system. Select the one you use and you’re good to go!
One last note on this – if you use a color system to manage your photos in Lightroom, you can customize Photo Mechanic to match the colors you use. Go to Preferences and then the General menu, and you’ll see the ability to customize the colors on the bottom of the menu!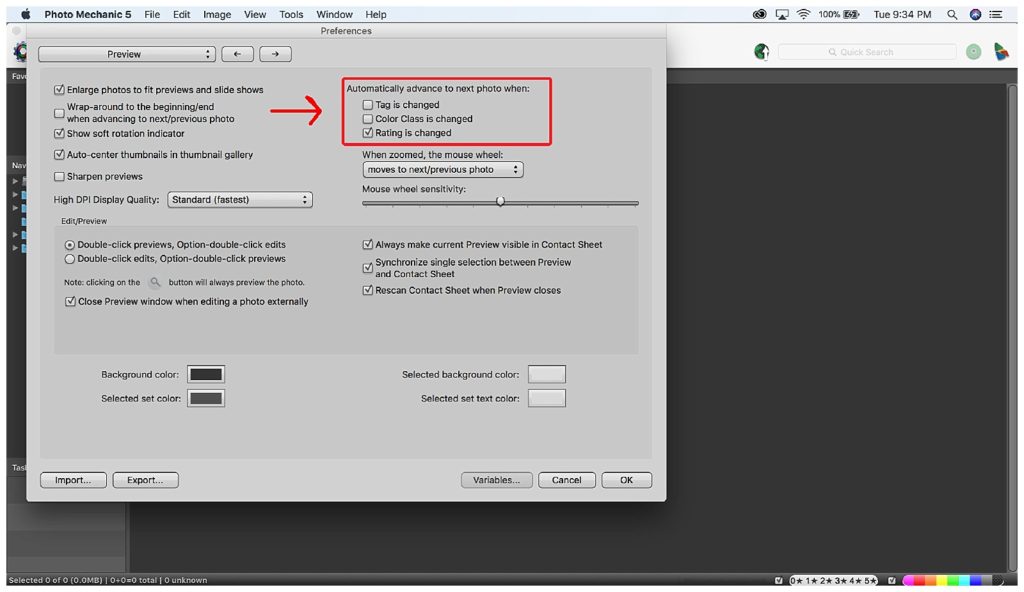
Step 2
Now that your settings are optimized for your workflow, Open Photo Mechanic and select the storage device you photos are stored on. In the example below, we have the files on the SD card, so we selected that drive! Expand the storage device until you see the folder that holds the images.
Step 3
Right click on the folder you selected and select ‘Open in New Contact Sheet.’ This will start a new tab in the program and all of the photos on the storage device you selected will be visible.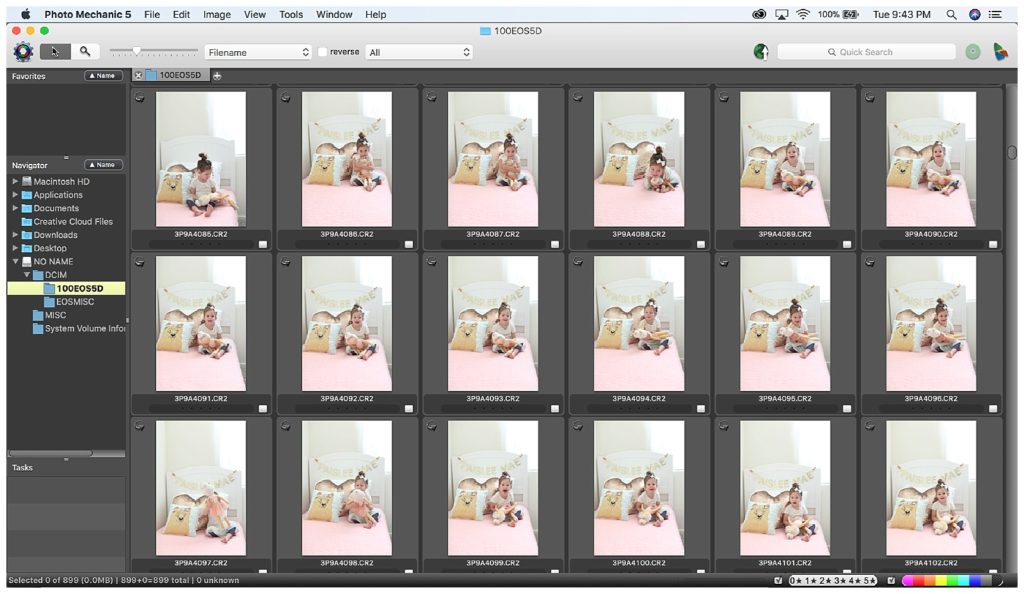
Step 4
Begin culling! There are two views you can cull in. The first view, which is the default, is a smaller thumbnail view. You can work through and cull in that mode, but we prefer a larger image size so that we can quickly check focus and make sure it really is a winner image. To do this, simply double click on the first photo, then start working through them!
To tag an image as a keeper, click the letter ‘T.’ If you want to rate the image by number or color, click the rating you want and then move on to the next photo. Once you get rolling, you’ll find that you spend no more than 1 second per image and can cull like a pro!
Step 5
Now that you have selected your keeper images and rated them for your Lightroom catalog, it’s time to copy and save those images. At the top of the menu you’ll see a drop down menu. Click the menu and select ‘tagged.’ You’ll now see only the tagged images you selected as winners!
Step 6
Now that you’re looking at only the images you want to keep, select them all by pressing ‘Command + A.’ Then right click the images and select ‘Copy Selected Photos.’ Enter the destination for the saved photos and click copy!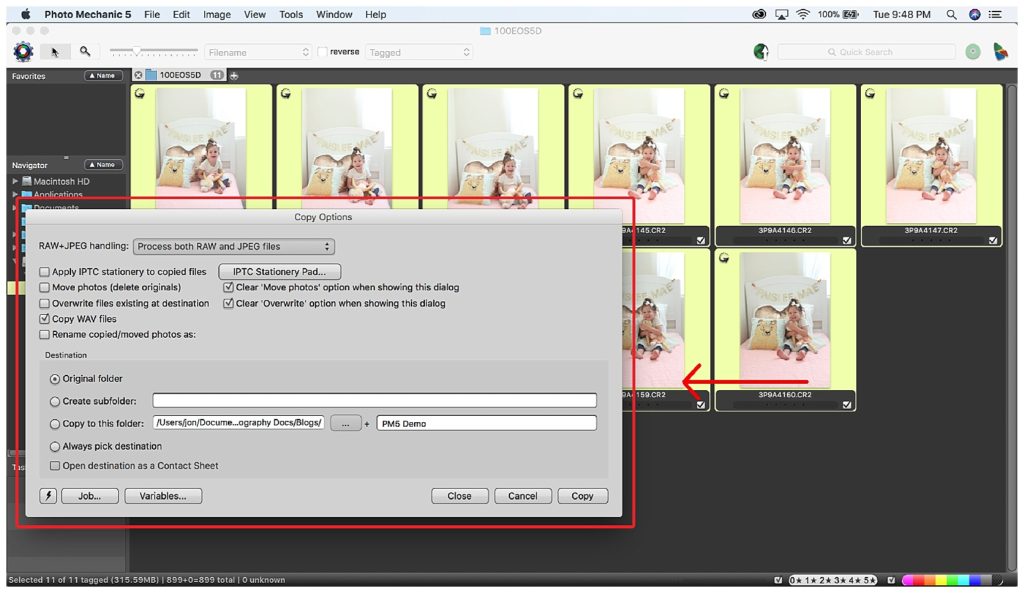
Step 7
You’re done! Cue the celebration and cork popping! Now you can import the culled and rated images into your Lightroom catalog and start editing. It’s that easy guys!
Not only has this program sped up our post processing workflow, it’s given us back a lot of time that would be otherwise lost to spend on more important things. We hope you find this tutorial useful and implement it into your own post-processing workflow too! Please know that we are not compensated in anyway by Photo Mechanic 5, it’s just a product that has transformed our lives that we wanted to share with you!
Happy culling, friends!!

Comments +