One of the most fun things about being a brand photographer is that you are consistently challenged to shoot for the brand. Unlike other areas of photography like wedding and lifestyle photography, brand photography requires you to shoot for your brand client’s aesthetic. We love the challenge and we love the variety! No two shoots ever feel the same and we’re constantly being grown and stretched to take on new ways to shoot and creatively convey a brand’s message. Our fitness photoshoot with Ashley Terry was one of those shoots. We were challenged to shoot with a dark background, to use punchy and defining lighting, and to capture a lot of in-motion shots. So today we’re excited to break down How We Got the Shot: Ashley Terry Fitness Shoot.
How We Got Here
Before we get into the particulars of this shoot, we have to brag on Ashley for a minute. Ashley committed to a fitness program to completely change her life. Not only did she meet her goals, but she went even further and started competing in women’s physique competitions with all her new found and hard-earned muscles! This shoot coming together was about a year and a half in the making. She reached out to us and had a shoot scheduled for July 2019…but we all know a few things on a global scale got in the way of that happening! The timing ultimately more time to continue smashing her goals and prepping for another competition – and a year and a half later, we were finally able to bring it together!
The Location
We photographed Ashley at The Cell Crossfit gym, more affectionately know to Crossfitters as a ‘box’. We knew that the gym would photography pretty bright inside as we’d been there before and one entire wall is all outward facing windows. Ashley really wanted to aim for a dramatic lighting scenario that gave a dark background and intentional lighting that emphasized her muscular build, so we knew we’d be using off camera flash to set the scene.
Here’s what the gym looked like:
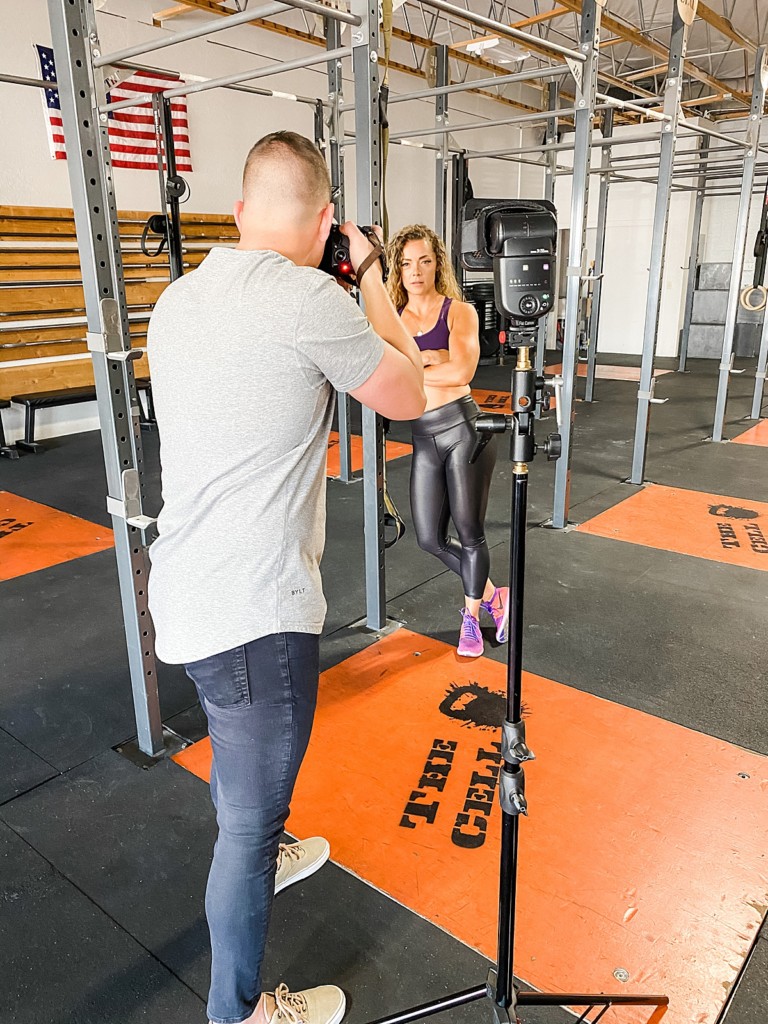
The Portrait Settings
We knew two things going into this shoot. 1) We needed to combat the ambient light in the room so that we could get a dark background. 2) We needed to be set to capture action shots.
With those two things in mind, we set our cameras to ISO 100 so that we could darken up the background. To further black out the background, we chose an aperture of f/5.6 so that we let even less ambient light into the lens and also to allow room for entire subject to be in focus while Ashley moved through different fitness motions. Finally, we settled on a shutter speed of 1/160 for the still images. We’ll talk you through the motion images in a little bit!
For lighting, we used our Nissin MG10’s and Nissin MG80 Pro for our key, fill, and accent lights. Our Nissin MG80 Pro with a HONL 1’8” Grid was our main key light that shaped our client. We chose to use the grid because it made our light very directional and intentional and prevented spilling the light into the background that we were working so hard to keep dark!
Then we used another MG10 in a Westcott 26” Rapid Box with the deflection plate installed and no diffusion for a backlight. This light worked to give a dramatic splash of rim light in the photos that helped accentuate Ashley’s build.
Finally, we utilized our other MG10 in a large 43” Westcott Deep Silver Umbrella with diffusion fabric for our fill light. This light was working to balance out the shadows from the directional light of the key light and to provide more even lighting on Ashley.
Here are a few of the portraits shot with this set up!
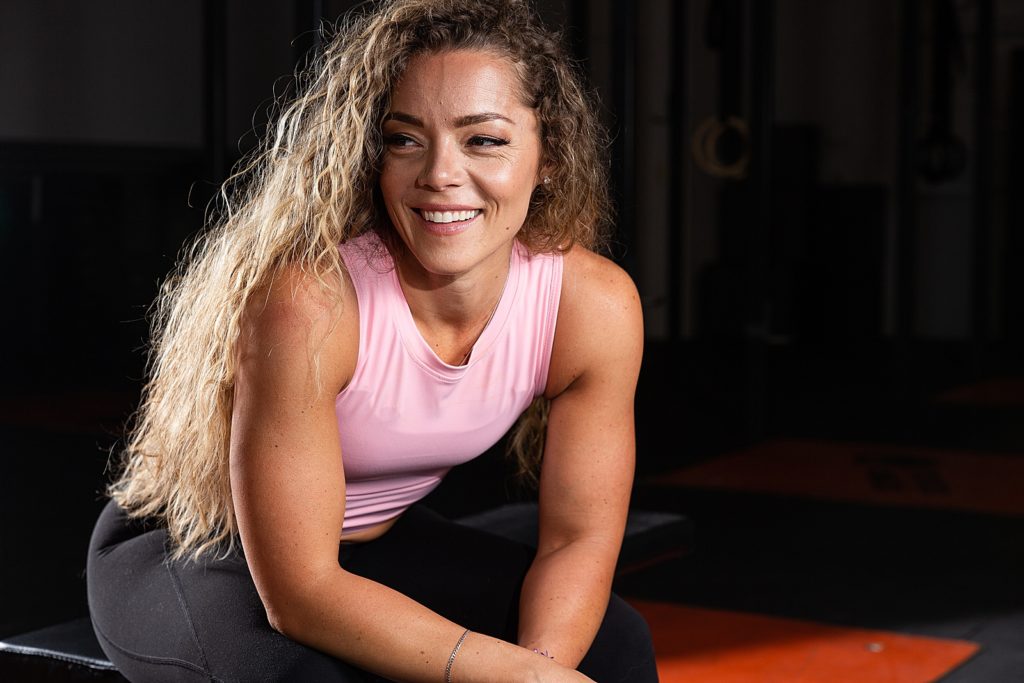
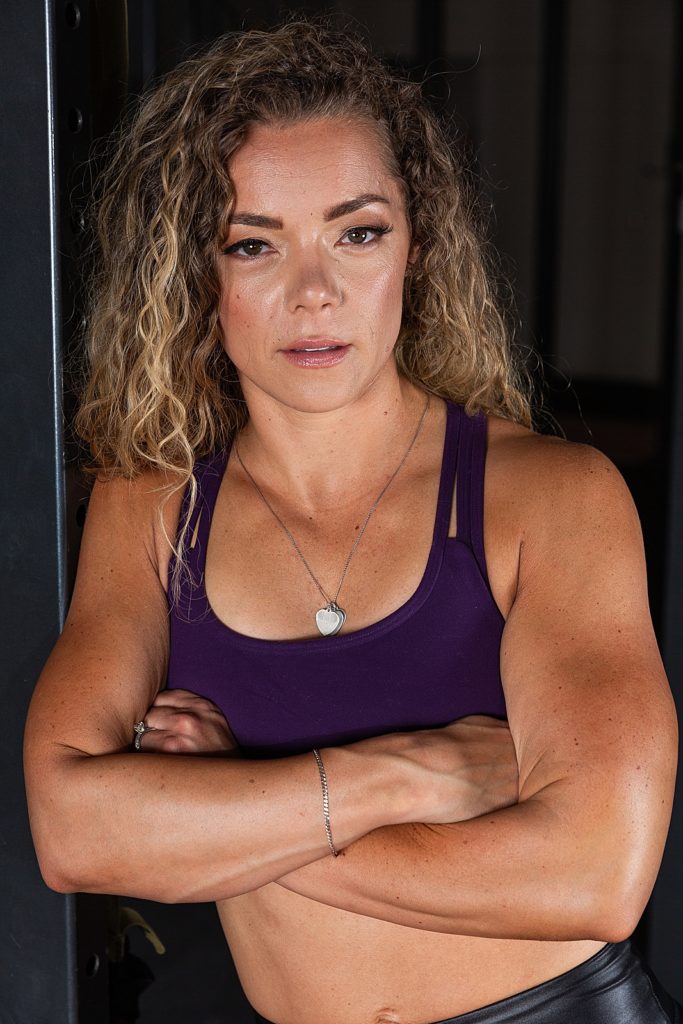
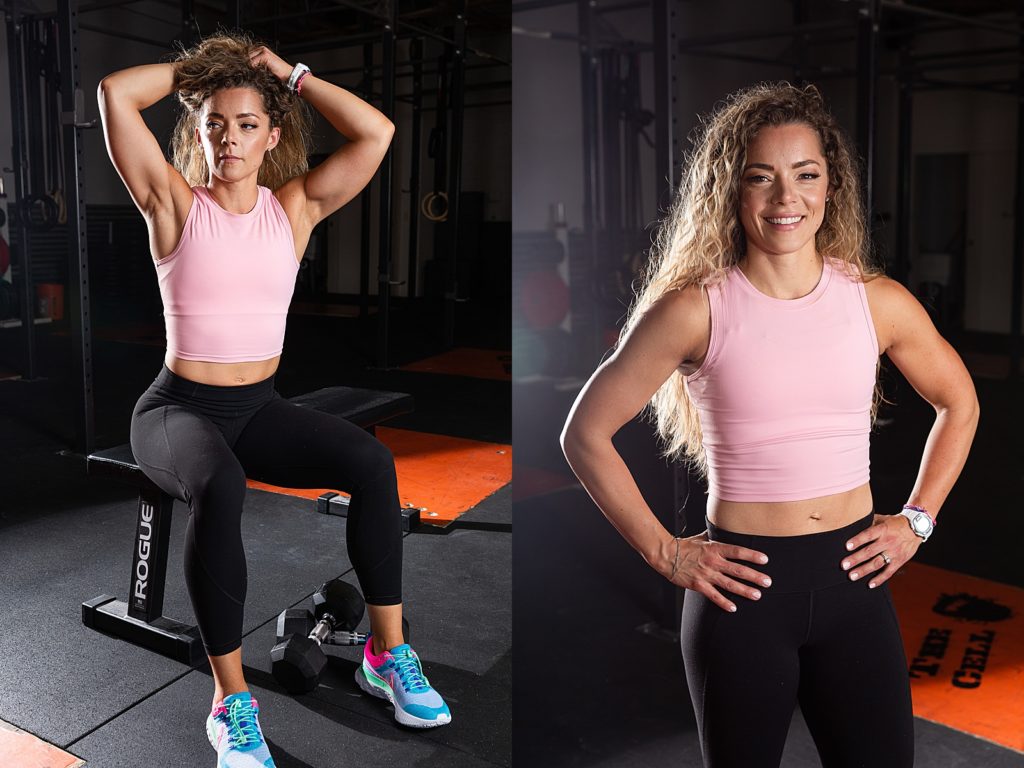
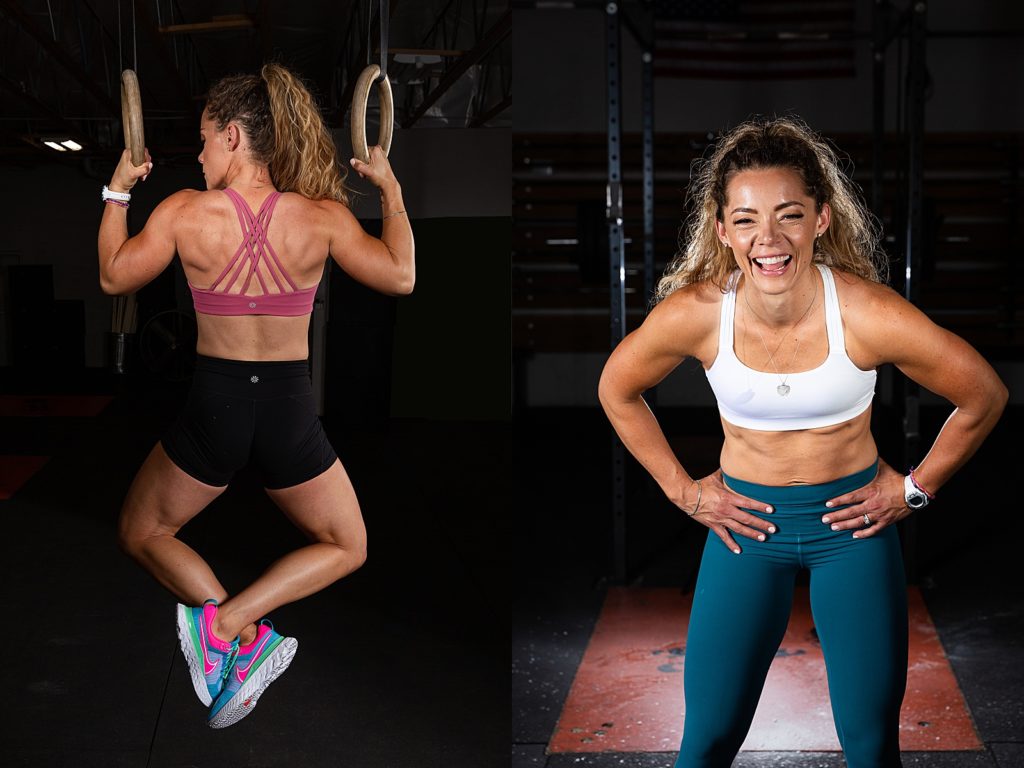
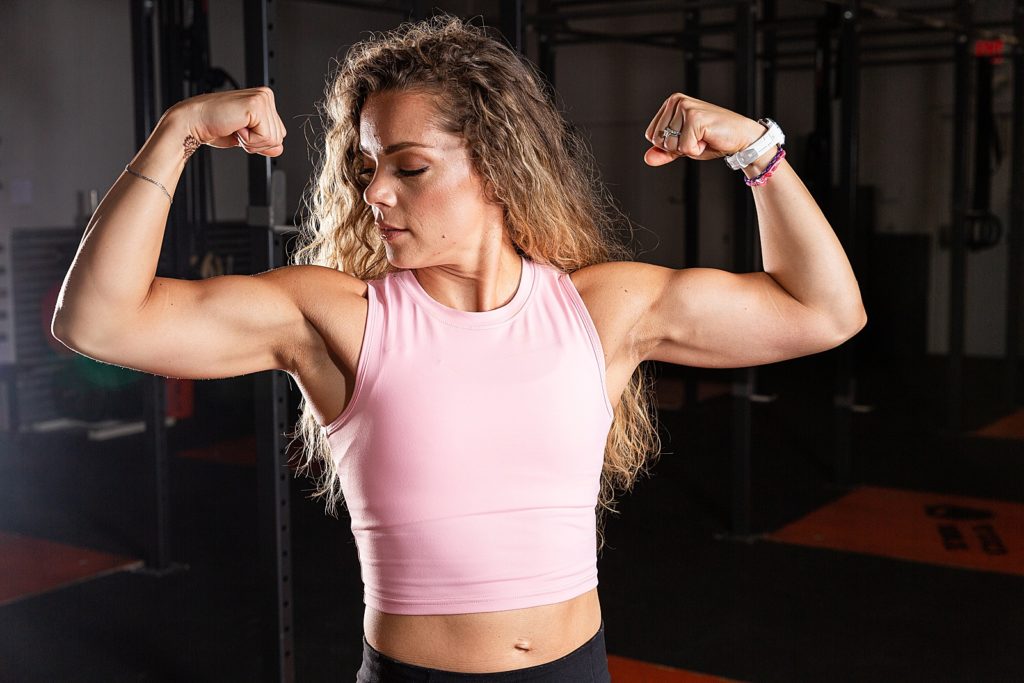
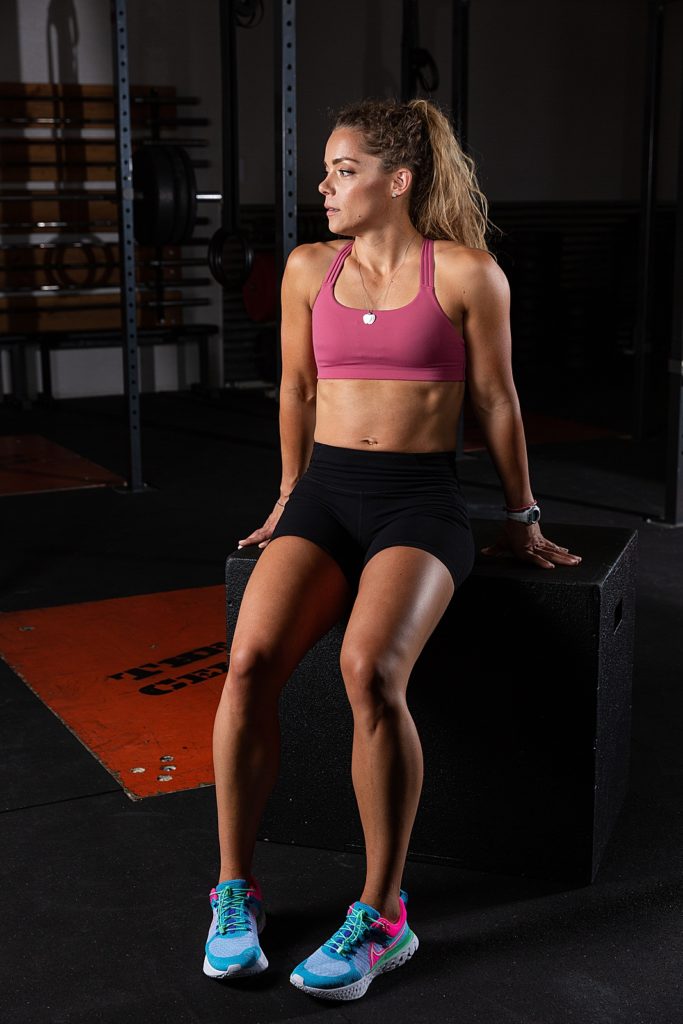
The Action Settings
The action shots were by far some of our favorites to photograph…and the trickiest! What normally happens with motion in a shot? It gets blurry, right!? So naturally, the solution would be to increase ISO and choose a faster shutter to capture the motion. Only problem is, increasing our ISO would trash our scene with the dark background and throw all of our dramatic lighting out the window. Maybe you’ve tried setting your shutter speed high when using flash and noticed your camera limits you to a shutter speed of 1/160 or 1/200. This is because the camera knows it won’t be able to sync with the flash at a higher speed. If you’ve tried going beyond this, you’ve likely seen a black bar across your image…that’s the camera curtain being out of sync with the flash. So what does one do?
This is where a feature called High Speed Sync (HSS) comes in. HSS allows you to speed up your shutter without working against yourself with your lighting. Instead of your speed light emitting all of it’s light in one big pop when the shutter is fully open, HSS emits little bursts of light one after another during the different motions of the camera shutter opening and closing that amount to the total light output you need. So instead of flashing when the shutter is fully open, the flash gives a small burst when the front curtain is open, one in the middle when both the front and rear curtains are open, and once at the end when only the rear curtain is open.
Phew – ok we got pretty technical there for a second, but hopefully you could follow that.
For the action shots, we used the same lighting set up as we detailed for the portrait shots. The only difference was that we did directly backlight Ashley for a few shots with a bare MG10.
Here’s what the scene looked like before the shot:
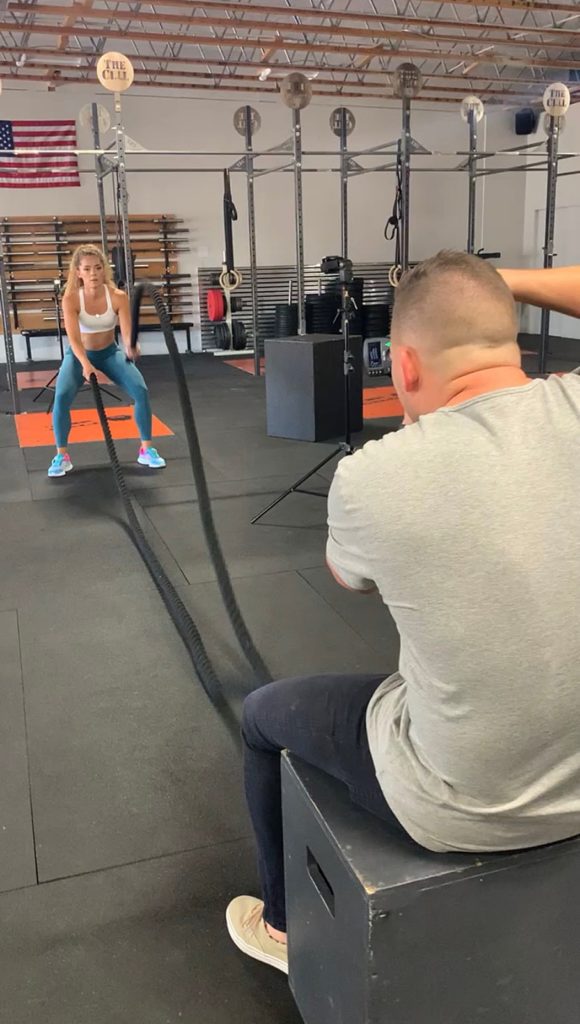
And here’s the shot we captured…along with a few other action shots from the shoot!
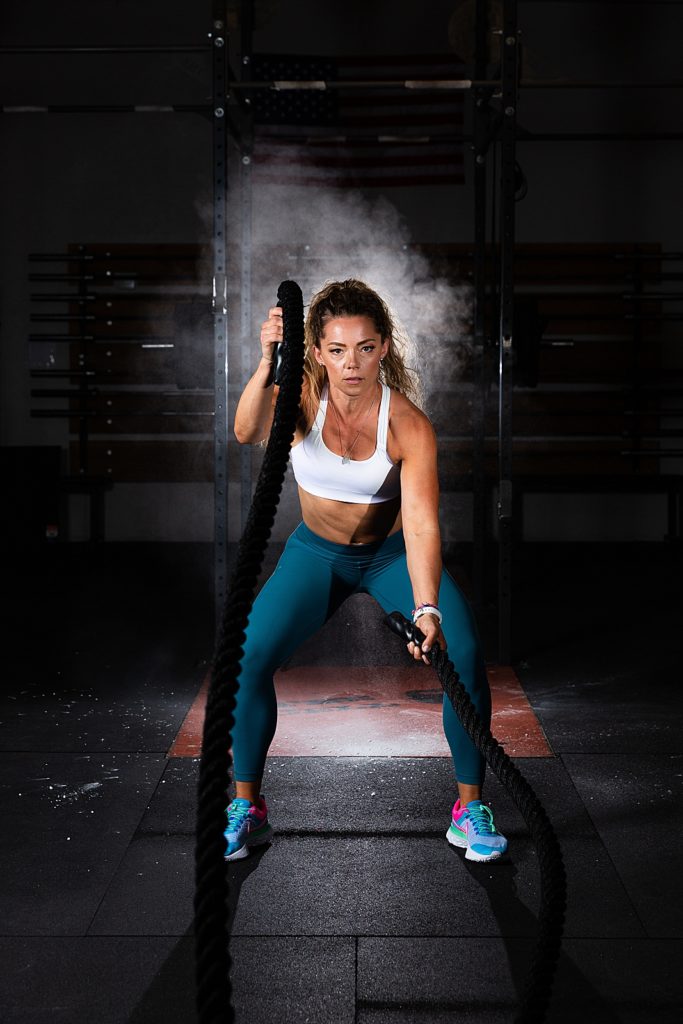
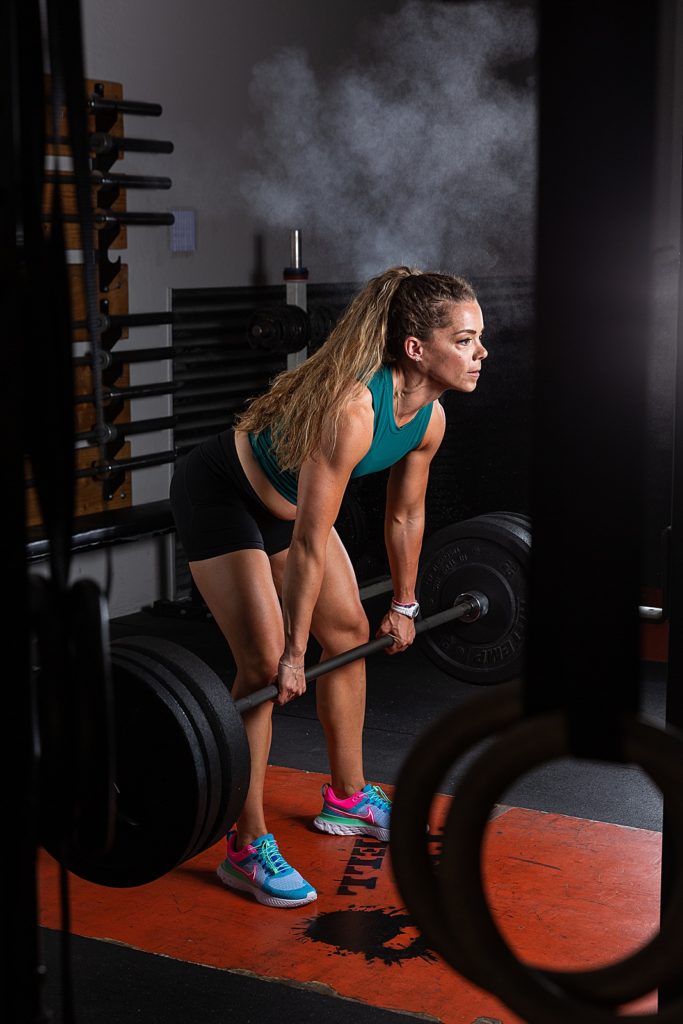
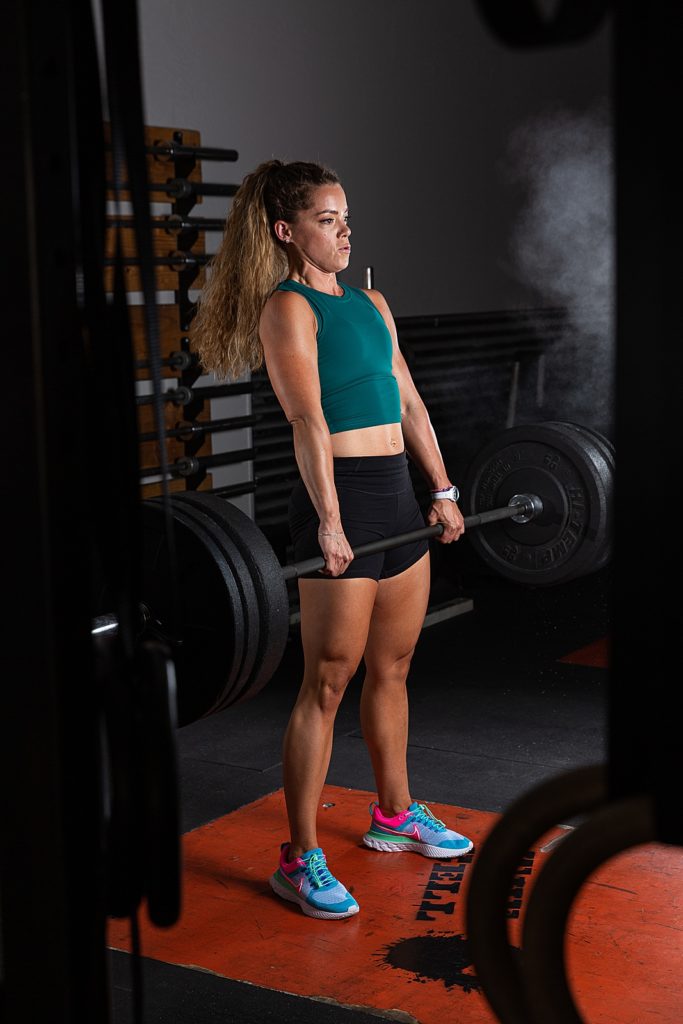
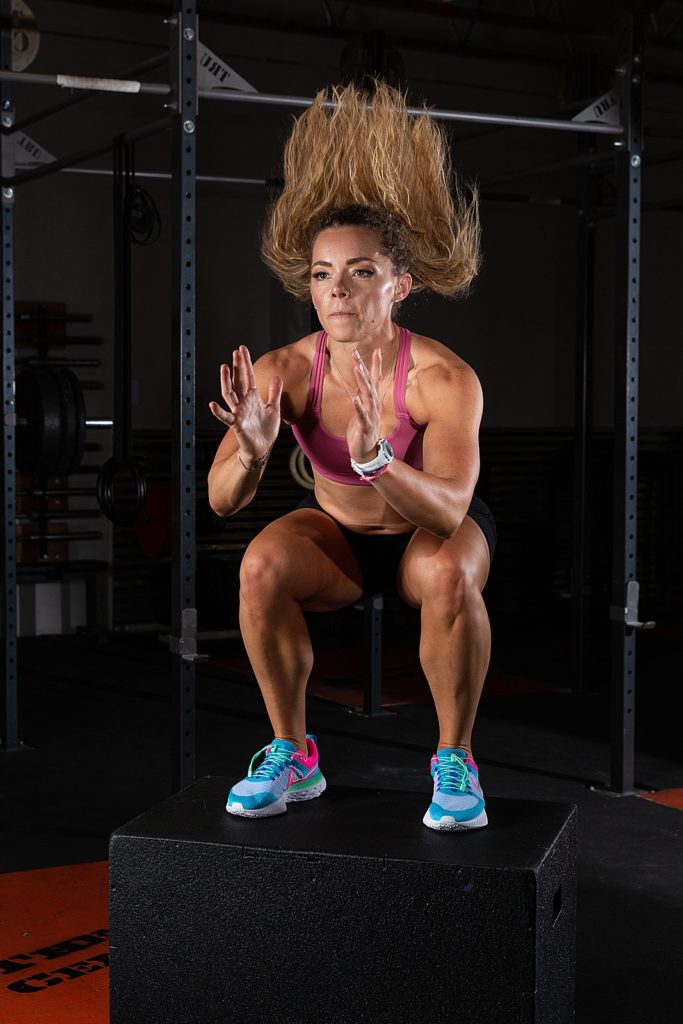
This was such a fun project to work with Ashley on and we loved putting our lighting chops to the test to create these images! What is your favorite part about working with lighting? Let us know in the comments!
Comments +